This is a great idea for making bags out of t-shirts! It was a no-sew project, but I came up with a few variations of my own…
First you have to make the handles. These are the same no matter what bag you choose to make…
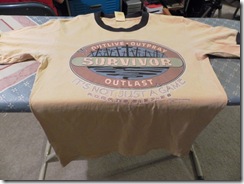 First iron your t-shirt
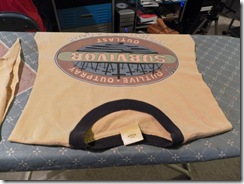
Cut off the sleeves being careful not to cut too low down the sides of the shirt.
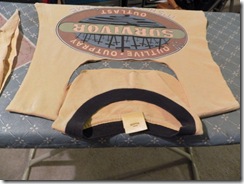
Cut the collar out. You can round the corners or square them off. (see below)

For a very simple, no-sew bag. Here’s what you do.
Cut a 3/4” strip from the middle of one of the sleeves you removed from the shirt. Cut off the seam to make one long string. Pull on both ends of the strip causing the edges to curl in.
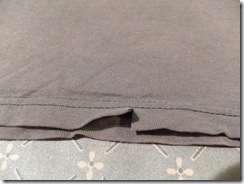 Cut one small slit in the hem on the bottom of the shirt. Be careful not to cut through seam.
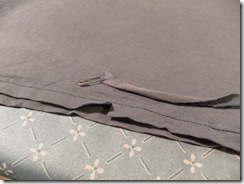
Attach a small safety pin to one end of the strip
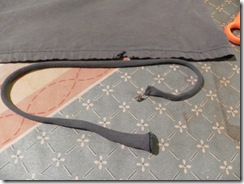
Feed the string all the way through the hem. Be sure to hold on to the loose end so that you don’t loose it inside the hem!
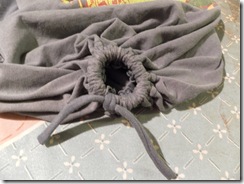
Pull it tight and tie it off. The bag will have quite a large hole in the bottom. But it still works fine for carrying larger objects.

For a very simple sewn bottom, follow these steps…
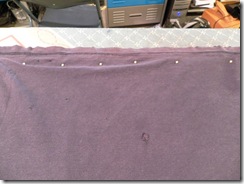 Turn shirt inside out and pin closed. Sew the bag shut.
 Remove pins and turn right side out. Simple!
You can also make a bag with a flat, squared bottom. This is a little more complicated but still very easy!
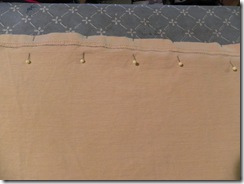 Turn shirt inside out, pin and sew bottom shut.
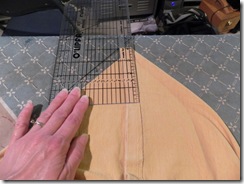
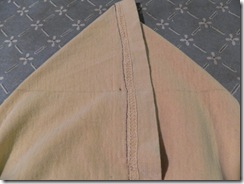
Remove pins and pull apart bottom seam. Line up the bottom seam with the side seam. Mark the triangle about 4” from tip with a pencil. Mark closer to tip with a smaller shirt. Sew on the pencil line.
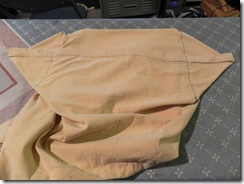
Repeat on the other side.
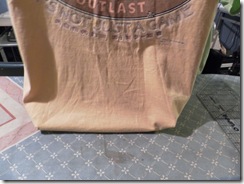
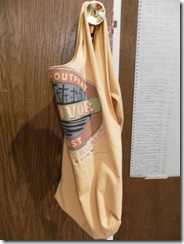 Then I got the idea of waterproofing the inside to use for sandy beach stuff or wet swimsuits, anything you would want in a plastic bag…
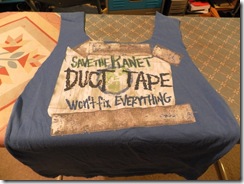 Prep your shirt like for any of the other bags. A smaller shirt works better for this one.

Turn shirt inside out and pin a heavier weight plastic bag on top of the shirt.
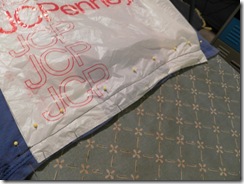
Sew the entire bottom of the bag through all three layers. Remove pins and turn shirt right side out.
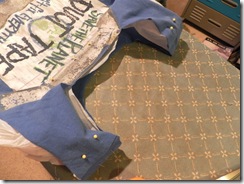
Line up the handles of the shirt with the plastic bag handles. Pin together and sew across shoulder seam.
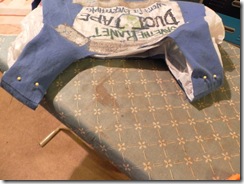
Line up the top of the bag with the inside of the handles.

Pin up the edges and sew a 1/4” seam along the top, front and back.
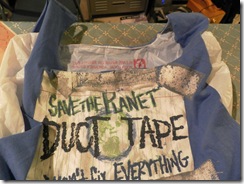
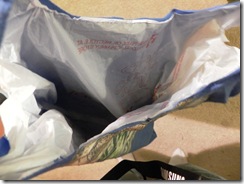 Your bag is now lined and ready to go!
I brought these bags with me on my bi-monthly shopping trip and put them to the test. They are quite stretchy but worked great! They would also work for books, craft projects or anything else that needs a bag…
This would also be a great project for those really cute shirts that have been outgrown.
Have fun and be creative!
