Tuesday, February 28, 2012

Owl’d With the Old & In With the New

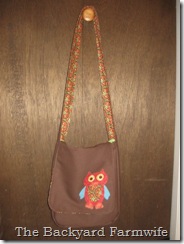
Way back in July of 2009, before owls were so trendy and hip, I made myself a messenger bag. As soon as I saw it, I was in love!

owl purse 01 owl purse 02

Since then it has been my favorite bag. I’ve tried others, but not for long, and I kept coming back to it. It has gone with me everywhere! It has been to the mall, the doctor’s office, Disneyland, the beach, picnicking at the park, spelunking at Ape Caves, rockin’ out at concerts… It has carried way more than it’s share of weight and held up like steel!

But it’s looking pretty sad now. The handles are frayed, it’s quite dingy and I’m not sure how it would hold up in the wash. It’s been ready for retirement for a while now but I just couldn’t let it go. Everywhere I went, random strangers would compliment me on it. I have to admit that it was a nice boost for my ego and a good reason to keep using it, despite being well past its prime.
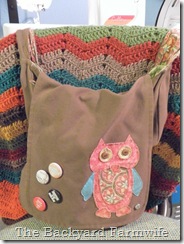
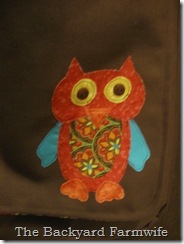
owl bag 03Then a friend tagged me on a picture of a cute and fun owl bag on Pinterest. I knew this could be the one to replace my dear old friend. I made a reasonable facsimile and was quite pleased with the results…
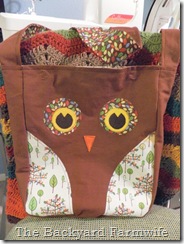
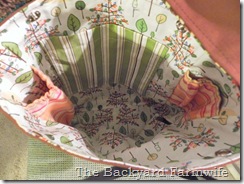
owl bag 01owl bag 02I especially love the pockets!

I made up my mind that after I took my oldest son to his doctor’s appointment last evening, I would make the trade.

As we’re checking out, the receptionist exclaims, “I love your bag! The owl on it is so cute!”

I still haven’t switched bags yet… ;o)  
Monday, February 13, 2012

I Love Valentine’s Day

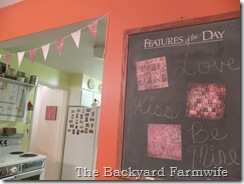
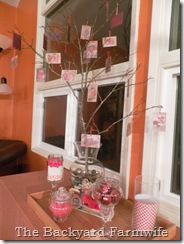
I decorated LATE this year. I mean REALLY late! But it’s up and I have some new stuff to boot!

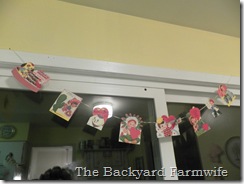
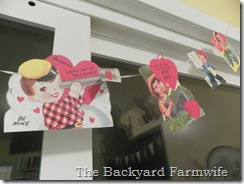
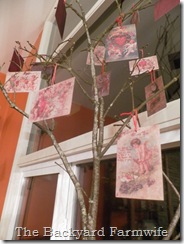
Vintage Valentines in the kitchen…

valentine's decor 01 valentine's decor 02 valentine's decor 03

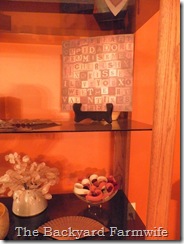
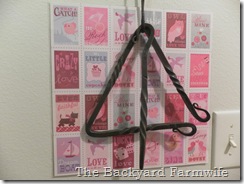
Some pretty scrapbook paper made for easy decorations in the living room…

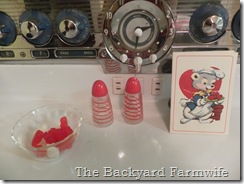
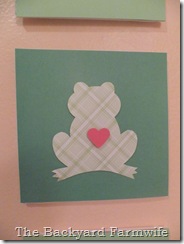
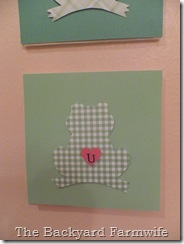
valentine's decor 04valentine's decor 13valentine's decor 10valentine's decor 12And for my dinner bell…

valentine's decor 07I made some other miscellaneous things…

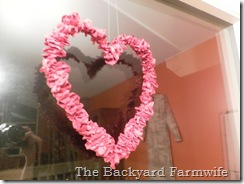
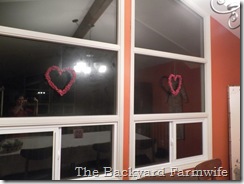
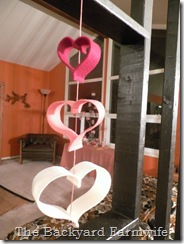
valentine's decor 06 valentine's decor 05      paper twist hearts for the windows

valentine's decor 08

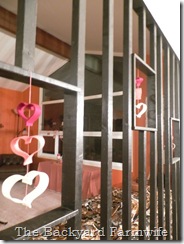
valentine's decor 09felt hearts for the divider

valentine's decor 11 

some glass candy dishes

valentine's decor 14

a scrappy heart wreath for the door

valentine's decor 15

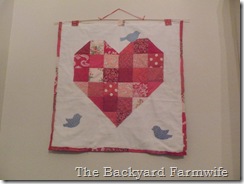
and a quilt to match

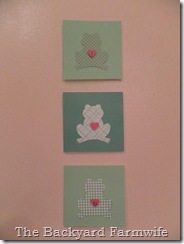
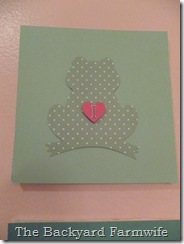
I even decided the bathroom needed something this year…

valentine's decor 16valentine's decor 17valentine's decor 18valentine's decor 19Have a Happy Valentine’s Day!  Spend it with those you love!

Thursday, February 9, 2012

Pop Open Gift Cans

I got one of those nifty safety can openers for Christmas! I have wanted one for forever, but our 20 year old model still worked and I couldn’t justify getting a new one. But someone must have taken note of my often drooling over them in the kitchen gadget section because there was one waiting for me under the Christmas tree.

It works like a dream! But the best part is that once you’ve removed the completely now harmless lid, it just pops right back on top of the can. Now I thought about it for a while and wondered how could that little feature be used to my advantage. Then I realized what it was… Gifts!

Fun, tricky, makes people wonder how you did it kind of gifts!

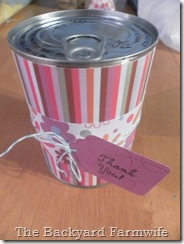
gift can 09

Here’s how you do it…

First you have to buy a fancy new can opener or subtlety convince someone else to buy one for you. :o)

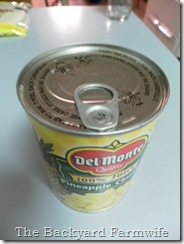
Then buy some canned food that has a pop-off top and a normal can bottom. Not like the bottoms of some of those new soup cans! Those don’t come off with a can opener. I find myself looking through cans of food with pop tops and buying them even if I don’t need them simply because I like the size of the can… I know. I know. ;o)

gift can 01

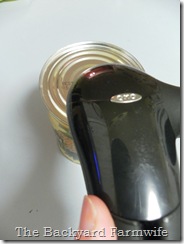
When it is time to eat the food from the can, open the BOTTOM of the can with your can opener.

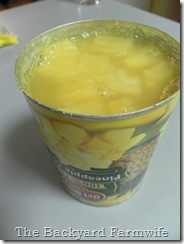
gift can 02  Eat the food from the can!

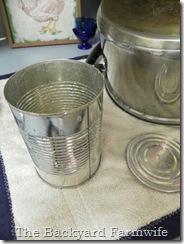
gift can 03Then peel off the lid and wash the can and the bottom “lid”. Don’t worry, it’s not sharp! LOL

gift can 04  After the can is completely dry, cover it with whatever paper you like. This is the part where you can be as creative as you want to be!

gift can 06Now remember, your gift can has no bottom but still has that nifty pop-off top! :o)

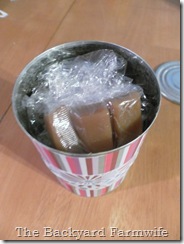
Flip your can over and fill it with whatever you’d like. Mine is filled with some homemade candies. Yum!

Keep in mind that whatever is on the top when you fill it will be on the bottom when it is right-side up… My marshmallows are under those caramels.

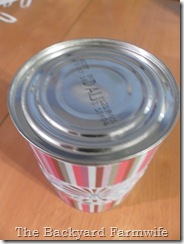
gift can 07 Now pop the “lid”/bottom back onto the can. You can glue it on if you’d like but I thought it stayed on pretty well just the way it was.

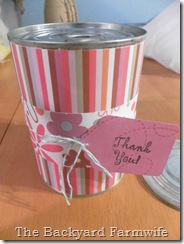
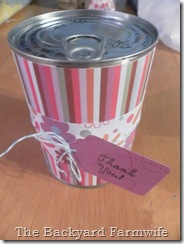
gift can 08 And there you have it! The recipient will be totally baffled as to how you did it! Unless you cave in and tell them… ;o)

gift can 09